Taxonomy manager
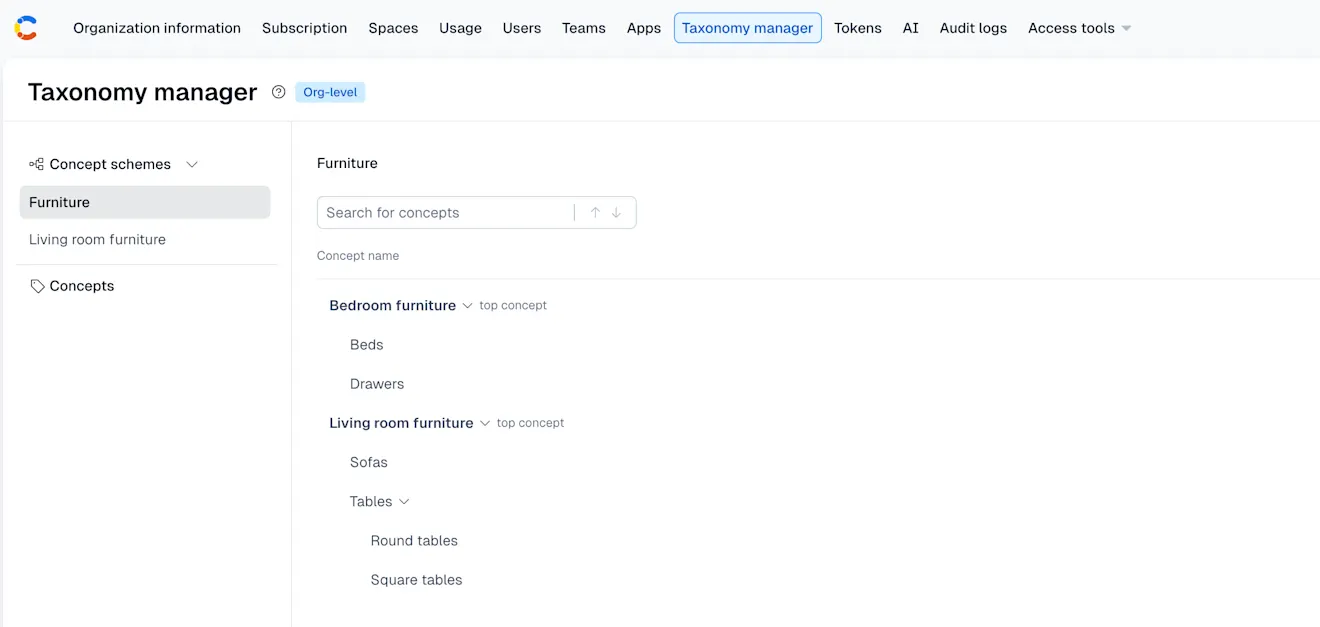
Contentful's Taxonomy is created and managed in the Taxonomy Manager feature. It is accessed by selecting Taxonomy Manager in the Contentful sidebar. All actions in the following section are performed in this sidebar.
NOTE: Only organization owners, organization administrators and developers can access the Taxonomy Manager.
For API documentation, read our developer docs.

Concepts
Concepts are the fundamental units (the terms) used to build a taxonomy. And ultimately, it is concepts that are assigned to your content entries.

Concepts only require a name (the "Preferred label"). However, other information can be added to provide context about the meaning and use of the concept. This information will define their relationships with other concepts.
Create a concept
To create a concept:
Navigate to the "Concepts" tab in the left sidebar.
Click + Concept in the top right corner.
Enter the Preferred Label (the primary name of the concept) and other optional fields in the Core information, Labels, Relations, and Notes tabs.
NOTE: To learn more about the individual fields, visit our Taxonomy glossary.
4. Click Save.
Edit a concept
To edit a concept:
Navigate to the "Concepts" tab in the left sidebar.
Click the three-dots icon at the right side of the concept you want to edit.
Choose “Edit” from the dropdown. The concept editing window will appear
Make your edits and click Save when you are done.
NOTE: concepts can also be edited directly from the concept scheme view, by hovering over the concept and clicking the edit icon.
Delete a concept
To delete a concept:
Navigate to the "Concepts" tab in the left sidebar.
Select the three-dotted icon to the right of the concept you want to delete.
Click Delete from the dropdown.
You’ll be asked to confirm to delete in the deletion modal.
NOTE: If the concept has connections (i.e. if it has subconcepts or is a member of a concept scheme), these will be shown before confirming. Deleting the concept will also remove these connections.
Concept schemes
While it’s possible to make use of taxonomy by using your concept hierarchies in isolation, many users find it useful to further organize and categorize your concepts using concept schemes - which can be thought of as named groups of concepts.

Create a concept scheme
To create a concept scheme:
Select the "Concept schemes" tab in the left sidebar.
Click + Concept scheme in the top-right corner.
Provide a concept scheme name and the optional URI and description.
Click Create scheme.
Edit a concept scheme
To edit a concept scheme:
Select the "Concept schemes" tab in the left sidebar.
Click the three-dots icon at the right side of the concept scheme you want to edit.
Choose Edit from the dropdown.
Make your changes in the edit window and click Save when done.
Delete a concept scheme
To delete a concept scheme:
Select the "Concept schemes" tab in the left sidebar.
Click the three-dots icon at the right side of the concept scheme you want to delete.
Choose Delete from the dropdown.
Click Delete concept scheme to confirm deletion.
NOTE: Deleting a concept scheme, removes all concepts from within the scheme, but it does not delete the concepts. They will remain accessible in the Concepts section.
Add a top concept using an existing concept
To add a top concept using an existing concept:
In the left sidebar, select the concept scheme you wish to add a top-concept to.
Click + Top Concept in the top right corner.
Choose Use existing from the dropdown.
Select the desired concept in the dropdown menu.
If this concept has any subconcepts these are shown below. One or more of these can be selected to also add these to the concept scheme. This provides an efficient way to add multiple existing concepts to the concept scheme, starting from the top concept.
Click Save.
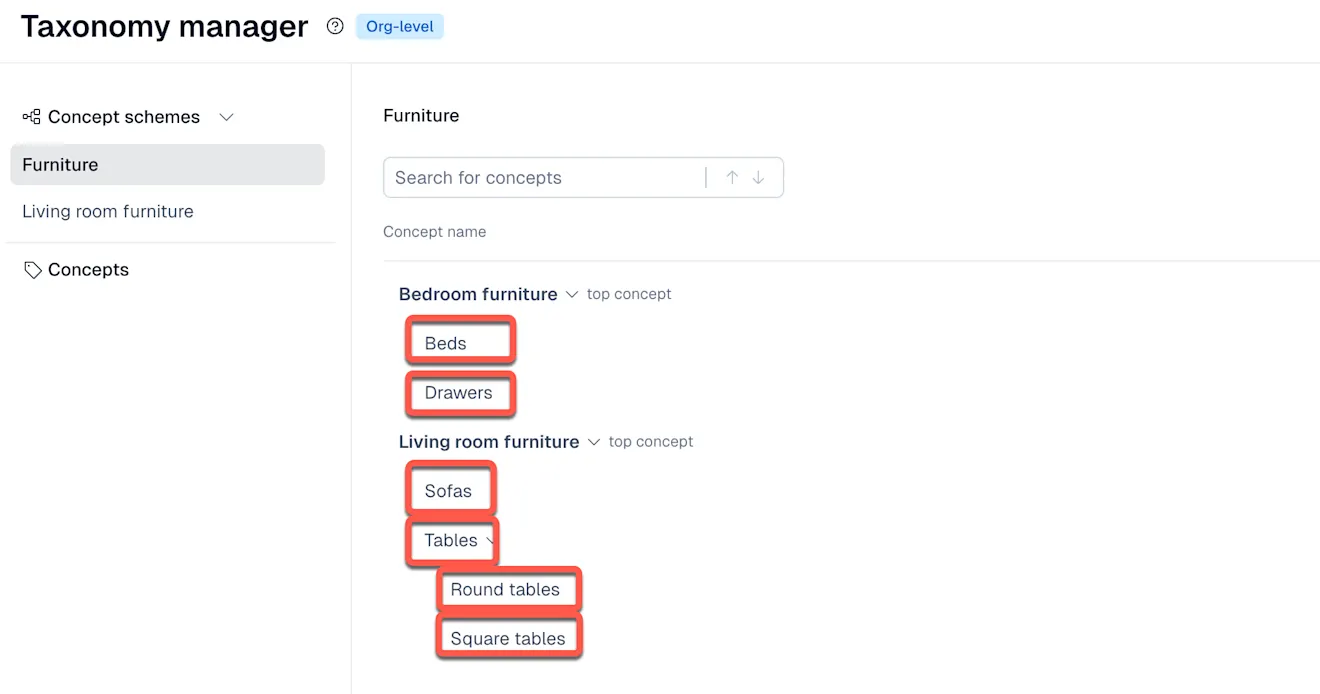
NOTE: Top concepts cannot be subconcepts of any other concepts in the same concept scheme. For example, if there are three concepts, each a subconcept of the previous one: Bedroom furniture > Beds > Double Beds.
Beds could be added as a top concept of the Home Products concept scheme. However, Bedroom furniture cannot then be added to Home Products because Beds (a subconcept) is already a top concept.
Add a subconcept using an existing concept
To add a subconcept using an existing concept:
In the left sidebar, select the concept scheme you wish to add the subconcept to.
Hover over the concept that has the desired subconcept (i.e. hover over the concept the subconcept already references in its Broader concept field).
Click Add subconcept.
Choose Use existing from the dropdown.
Select the intended concept from the dropdown menu.
If this concept has subconcepts of its own, these are shown below. One or more of these can be selected to also add these to the scheme. This provides an efficient way to add multiple existing concepts to the concept scheme.
Click Save.
Remove a concept from a scheme
To remove a concept from a scheme:
In the left sidebar, select the concept scheme you wish to remove the concept from.
Hover over the concept to remove and select the trashcan icon.
Choose Remove from scheme from the dropdown.
NOTE: This only removes the concept from the scheme. It does not delete the concept, which can still be found from the "Concepts" tab.
Concept schemes: advanced actions
The above sections cover the basic actions of creating and deleting concepts from the concepts list. These actions include adding and removing these pre-existing concepts to and from concept schemes. To improve workflow efficiency, some of these operations can be performed with a single action from the concept scheme view.
Add a new concept as a top concept of a concept scheme
To add a new concept as a top concept of a concept scheme:
In the left sidebar, select the concept scheme where you want to create a new top concept.
Click + Top Concept in the top right corner.
Choose Create new from the dropdown.
This opens the regular "Create a new concept" window. Enter the "Preferred Label" (the primary name of the concept) and other optional fields as required.
Click Save.
Adding a new concept as a top concept creates the following effects:
It creates a new concept (that can be found in the "Concepts" tab).
It adds the concept as a top concept of the current concept scheme.
Add a new concept as a subconcept in a concept scheme
To add a new concept as a subconcept in a concept scheme:
In the left sidebar, select the concept scheme where you want to add a subconcept.
Hover over the concept that will be the broader concept (the parent concept) of the new subconcept.
Click + Add subconcept
Choose Create new from the dropdown.
This opens the "Create a new concept" modal. Enter the "Preferred label" (the primary name of the concept) and the other fields as required.
Click Save.
Adding a new concept as a subconcept in a concept scheme has the following effects:
It creates a new concept
It adds this new concept to the concept scheme. This is where it will appear.
It adds the desired parent concept from the concept scheme as the Broader concept of the new concept. This is what makes it a subconcept.
IMPORTANT: While all this happens within the concept scheme view, the concepts are still created separately and their Broader concept properties still define the hierarchical relationships between them. This is independent of whether those concepts are part of any scheme.
For example, if the concept scheme is later deleted, the concepts themselves are not deleted, even those concepts that were created via the concept scheme tab in the steps above. The concepts can still be found via the "Concepts" tab and they will continue to have the same Broader concept information, thus preserving the underlying taxonomy hierarchy.
Delete a concept via a concept scheme tab
To delete a concept via a concept scheme tab:
In the left sidebar, select a concept scheme that includes the concept you want to delete.
Hover over the concept to delete and click the trashcan icon.
Choose Delete from the dropdown.
You’ll be asked to confirm the deletion
The confirmation window shows any connections included in the concept. This can include its subconcepts and concept schemes. Deleting the concept will also remove these connections.
Deleting a concept from a concept scheme creates the following effects:
It removes the concept from the scheme.
It deletes the concept entirely.
NOTE: This is the same as deleting the concept via the "Concepts" tab, which would remove it from the concept scheme when removing its connections during deletion.