Scripting migrations with the Contentful CLI
This tutorial details how to use the Contentful CLI to script changes to a content model and entries in a structured and reproducible way, for example when developing new features for an existing application.
Requirements
- A (free) Contentful account
- Locally installed
contentful-cli
References
To learn more about merging content types changes, refer to the following resources:
- Contentful Migrations CLI Deep Dive — Watch the video with some hands-on examples on how to change content and content model with Contentful CLI.
- Merge content type changes with Merge app — Follow the instructions to merge your content type changes from one environment to another with Merge app.
Preparation step: Install the blog example application using the Contentful CLI
Run the guide and follow the steps until you have the app up and running on your workstation:
contentful guideNote: Creation of a space may result in additional charges if the free spaces available in your plan are exhausted.
Navigate to the folder where you stored the blog application code, called contentful-custom-app, and do the following:
Initialize a git repository which will be used to reflect changes to the application:
git init
git add .
git commit -m 'Initial commit'
Export the space ID that was created by the
contentful guidecommand to make it reusable. Set the current space as the "active" space for development using thecontentfulCLI. This avoids adding the--space-idargument to every command (this command will add a line to the.contentfulrc.jsonfile located in our your directory).export SPACE_ID=my-space-id contentful space use --space-id $SPACE_IDCreate a sandbox environment – a full copy of your model and all the content in your space – ready for safe manipulation. To learn more about space environments, see Managing multiple environments.
contentful space environment create --environment-id 'dev' --name 'Development'
Scripting model and content migrations
The initial content model for the blog app looks like this:
Our first change will add a category to field to our blog-post so it can be displayed on the main page of the blog:
Adding a category field
Put all of your migrations in one location so it’s easier for others to find them:
mkdir migrationsUse the following script to add the category field as a Symbol:
module.exports = function (migration) {
  // Create a new category field in the blog post content type.
  const blogPost = migration.editContentType('blogPost');
  blogPost.createField('category')
    .name('Category')
    .type('Symbol');
}
Name the script 01-add-category-field.js, save it in migrations and run it on the development environment in your space:
contentful space migration --environment-id 'dev' migrations/01-add-category-field.jsYou can see the migration plan and agree or disagree to its execution.
Intializing the blog-post categories
So far, existing blog post entries will not have any content in the category field.
If there are many existing blog post entries, the task of manually updating the category for each becomes unmanageable. Luckily, the migration object comes with functions that apply transformations to the content in entries.
For this blog post use case, use the tranformEntries function to derive values for the recently created category field from the existing values in our tags field.
The transformEntries function takes each entry for a content type, extracts the content from the specified source fields from, and applies a transformation function before populating values for the destination to fields.
Use the following script:
module.exports = function (migration) {
  // Simplistic function deducing a category from a tag name.
  const categoryFromTags = (tagList) => {
    if (tagList.includes('javascript')) {
      return 'Development'
    }
    return 'General'
  }

  // Derives categories based on tags and links these back to blog post entries.
  migration.transformEntries({
    // Start from blog post's tags field
    contentType: 'blogPost',
    from: ['tags'],
    // We'll only create a category using a name for now.
    to: ['category'],
    transformEntryForLocale: async (from, locale) => {
      return {
        category: categoryFromTags(from.tags[locale])
      }
    }
  })
}
Name the script 02-transform-content.js, save it in migrations, and run it on your space:
contentful space migration --environment-id 'dev' migrations/02-transform-content.js --yesAfter the script executes, see the results in the Contentful web app:
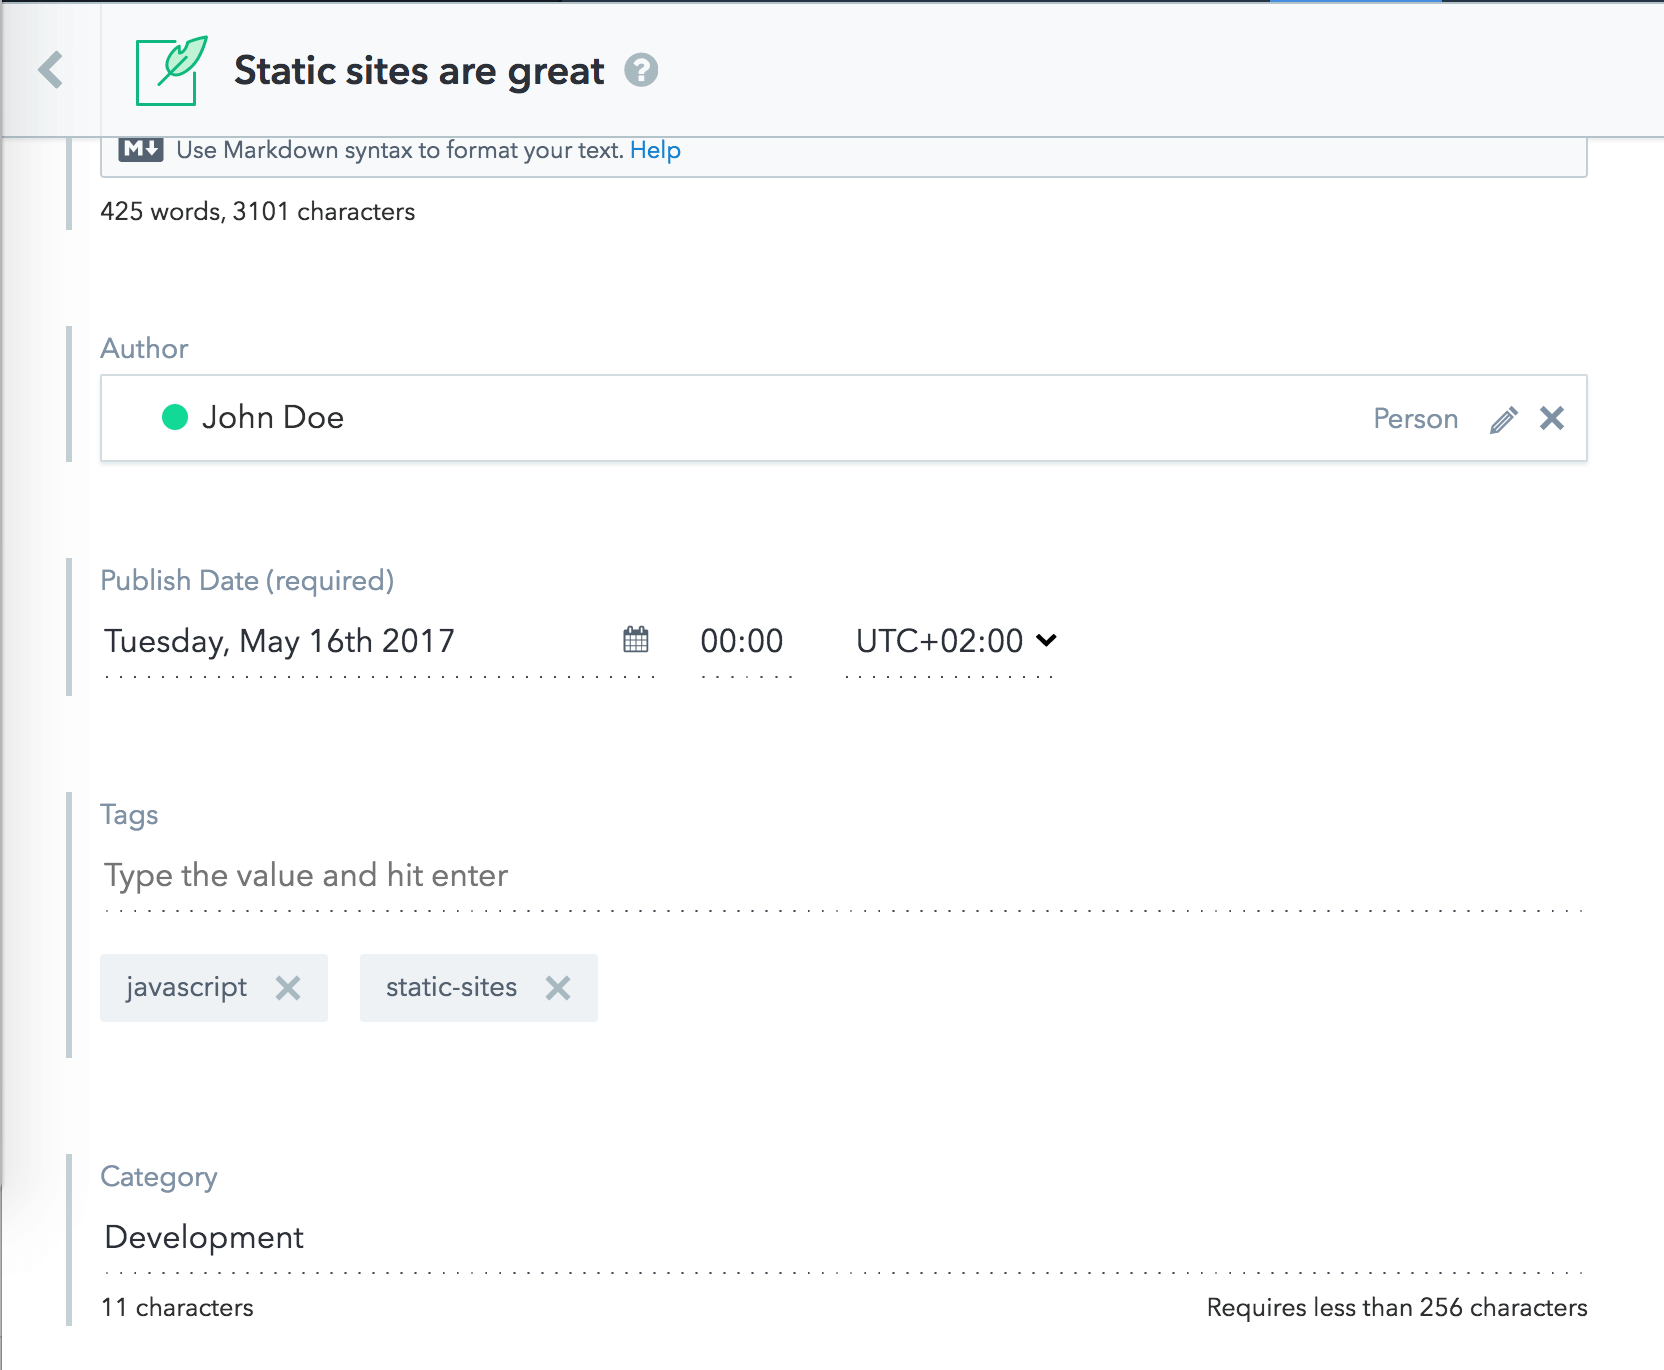
open https://app.contentful.com/spaces/$SPACE_ID/entries/environments/dev/entries/2PtC9h1YqIA6kaUaIsWEQ0The example app changes look like this:

The blogPost entries have been updated with the category information computed using the tags of the post.
Next, version the changes in Git:
git checkout -b blog-v1.1
git add .
git commit -m 'Add category field to blog posts based on tags.'
Displaying the category in the example app
You can now make changes to the code of the application to display the category alongside blog posts.
Use the patch to make all required changes on your code at once:
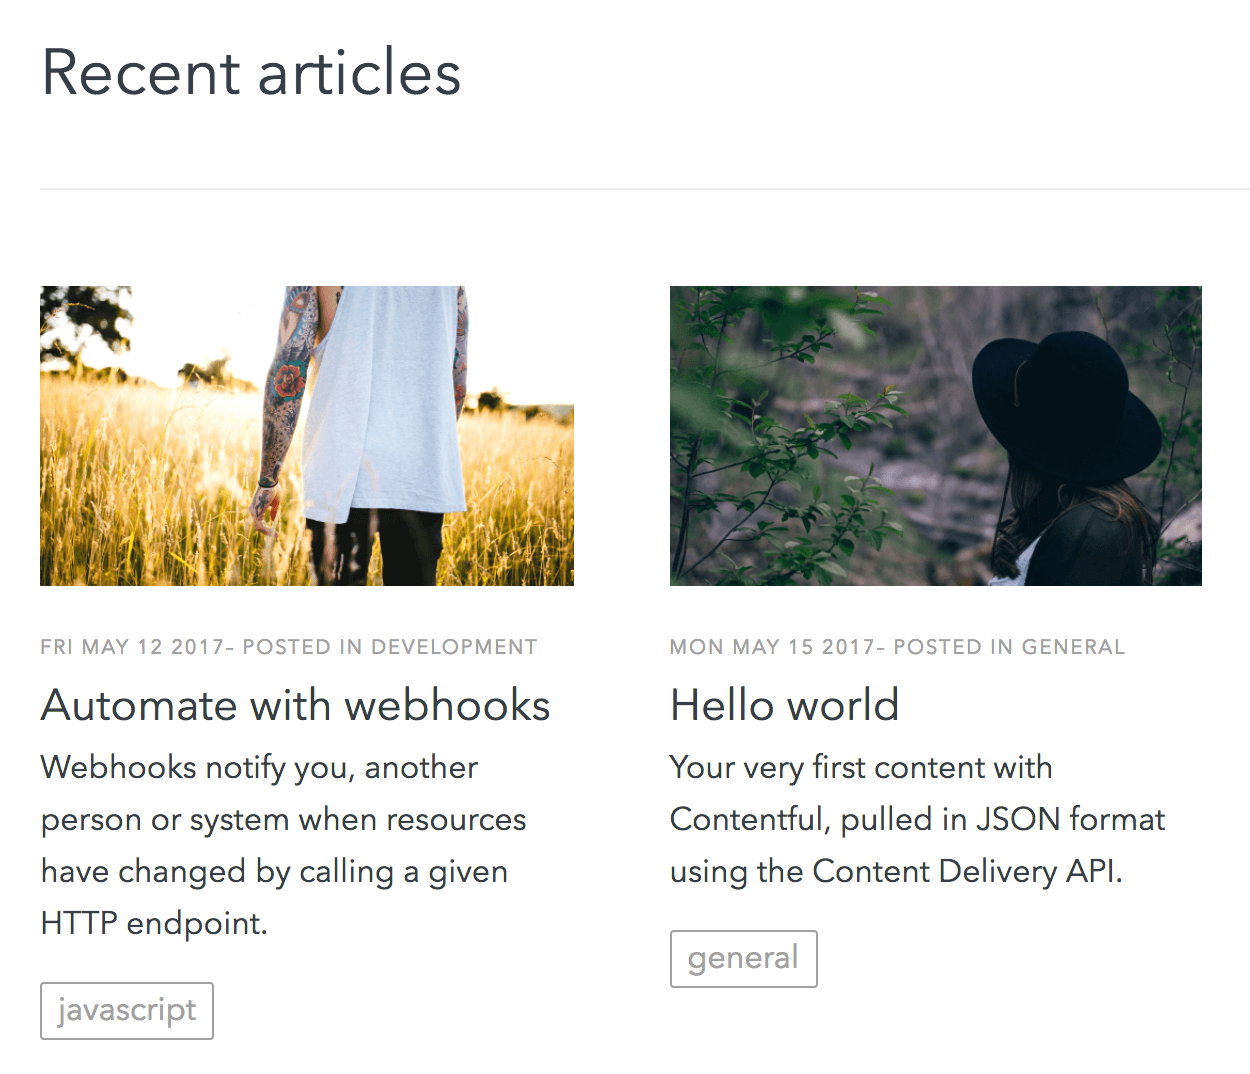
git apply migrations-1.0-1.1.patchTo see the changes, run the example app again:
npm run devThe example app changes look like this:

Commit the changes in Git:
git add .
git commit -m 'Display blog-post category in the article-preview component.'
The branch is now ready for a pull request for other colleagues to review. This allows any developer to run a migration on their own environment and see how the change looks.
Merging changes to master
When you're ready to merge your code, you should execute your migration scripts against the master environment in your space. Our documentation on multiple environments and continuous integration and deployment further detail approaches for bringing changes from development environments to master.
Transforming the category to a reference field
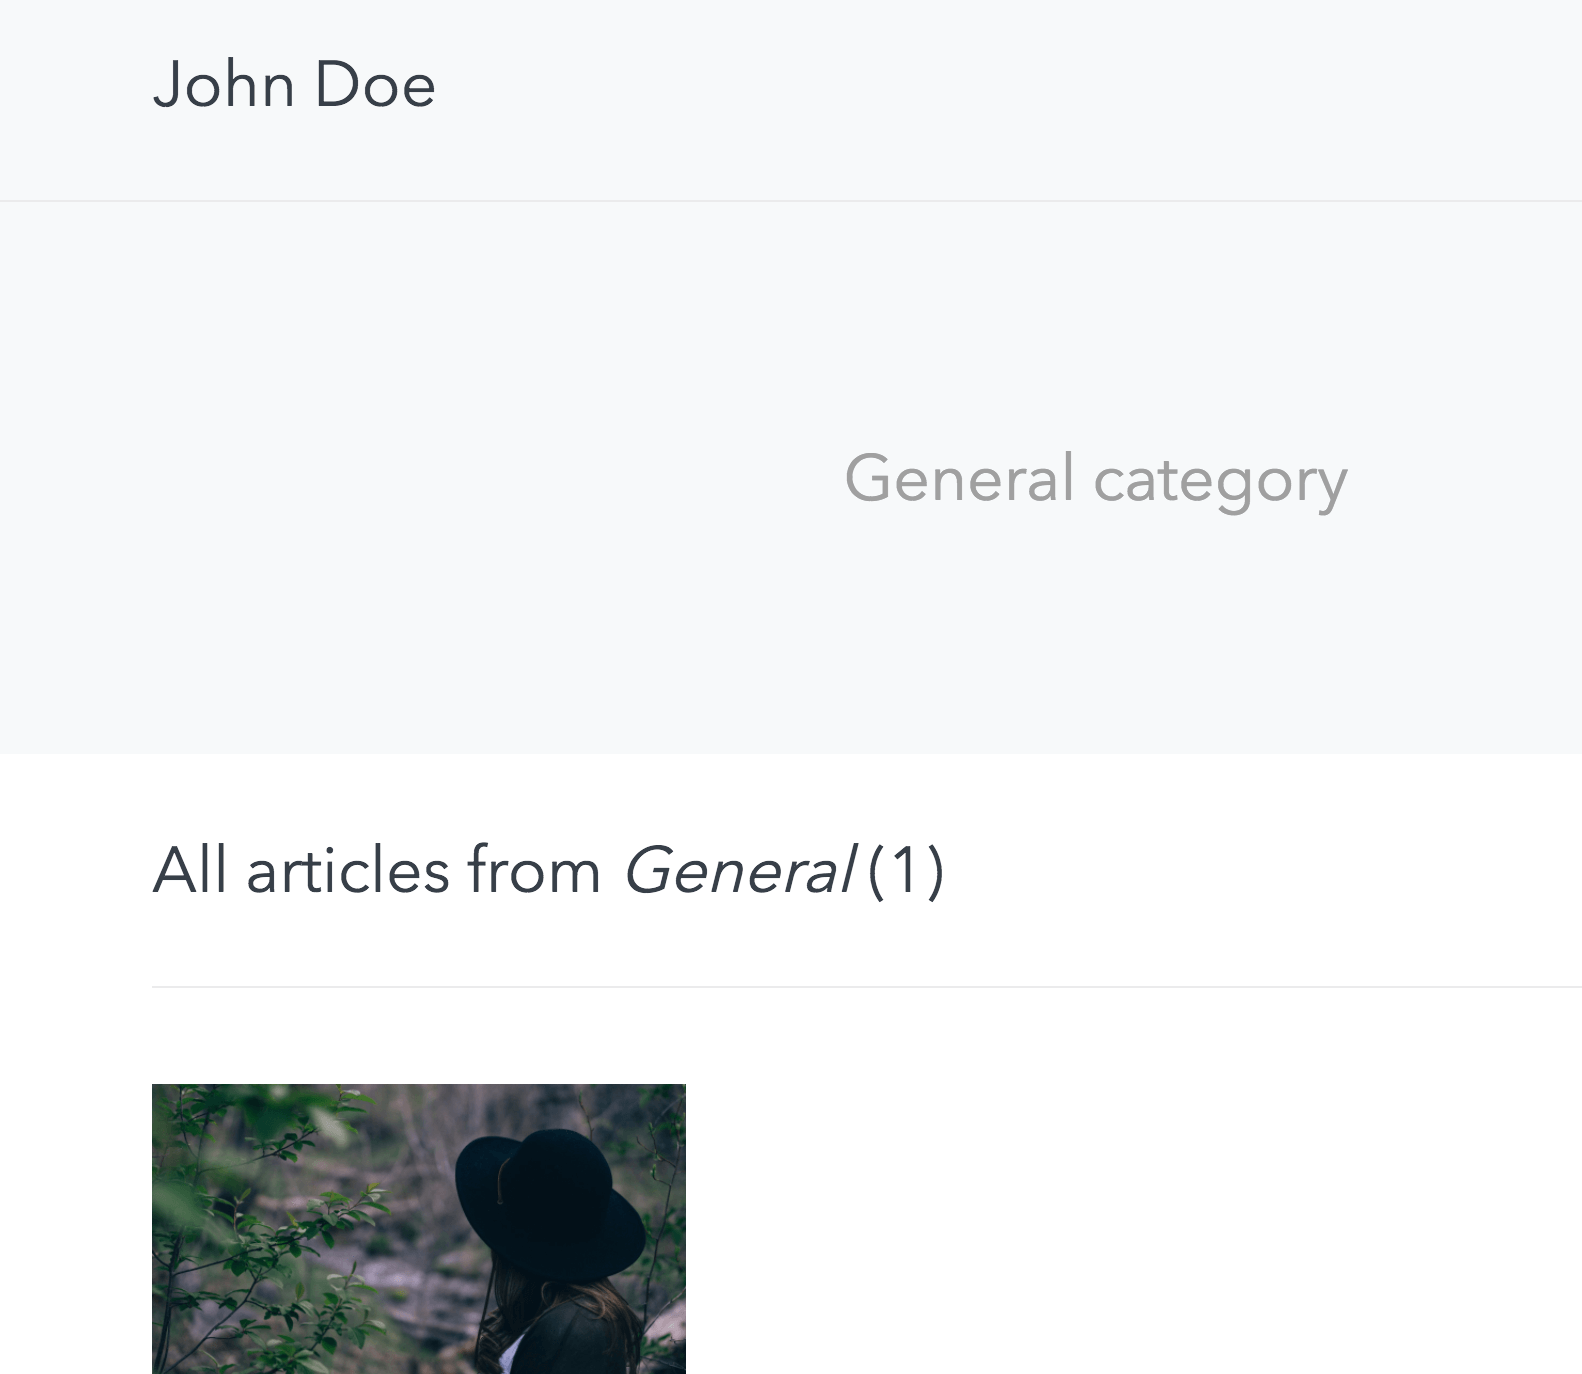
This section will explain how to update the example application to display the list of existing categories on the home page, and add a dedicated page which lists all blog posts that are part of a given category.
The update requires a new category content type with a URL slug.
To do this, create a migration script to transform the content model as follows:
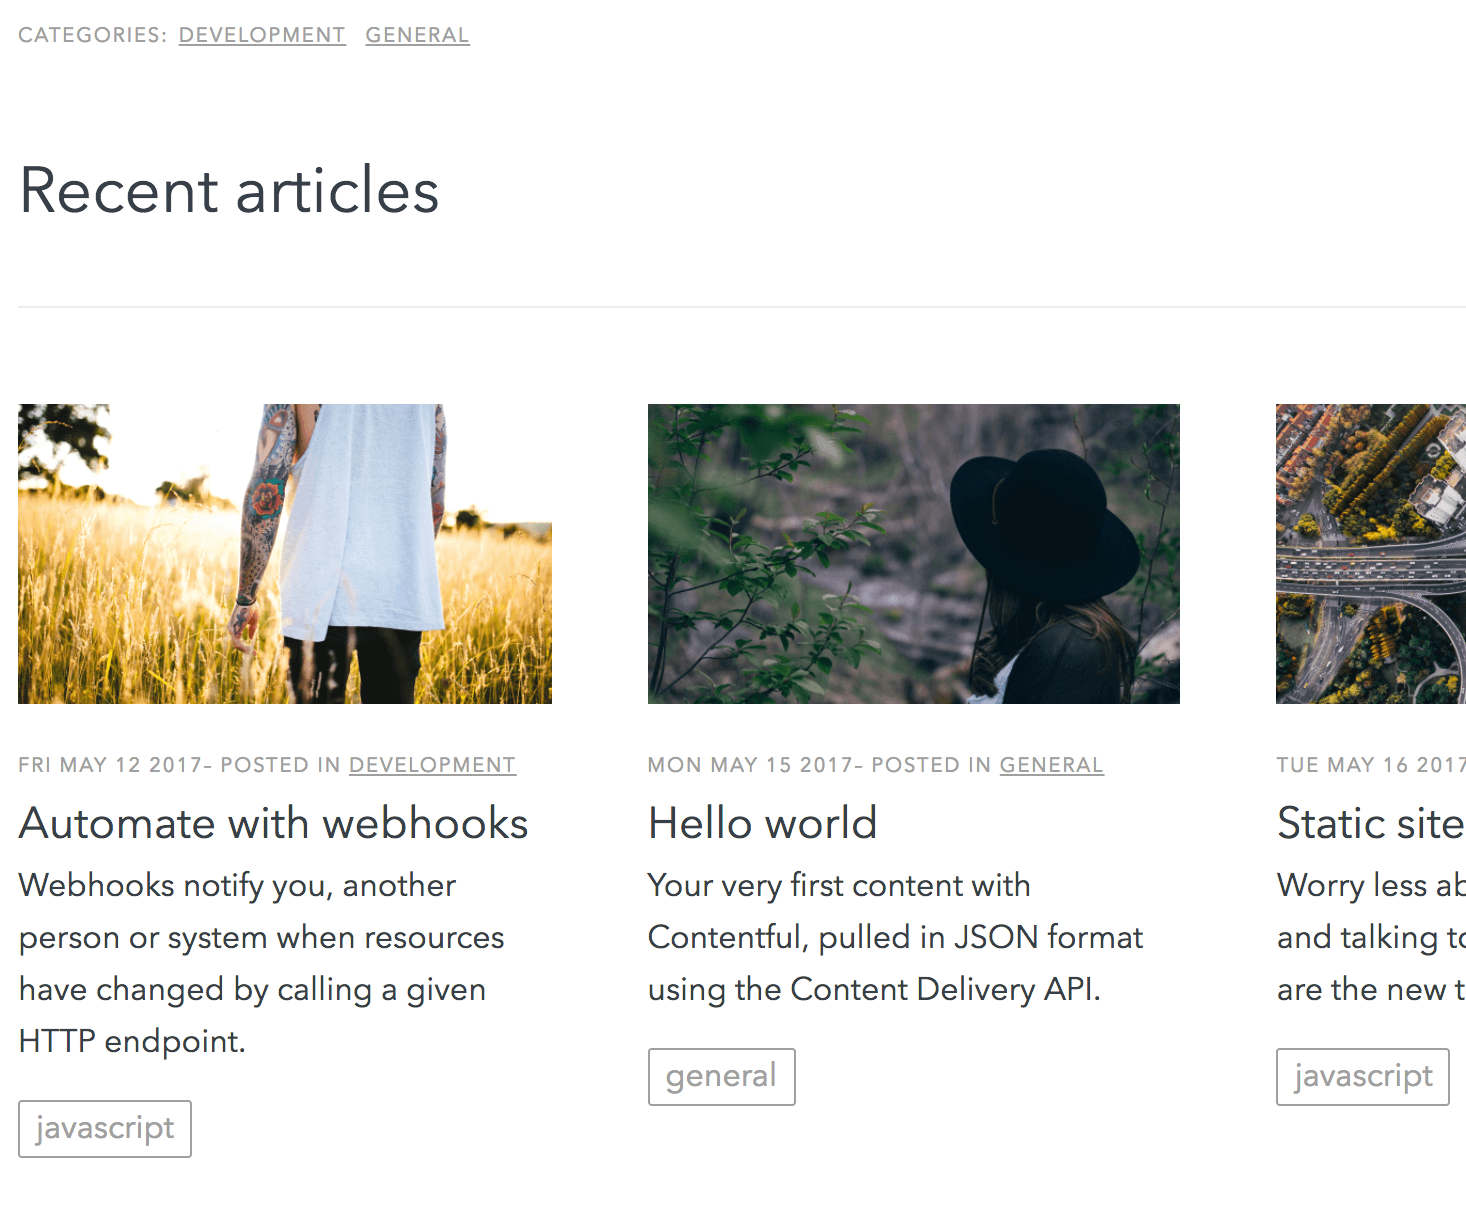
It also requires the creation of categories using the existing blog post information so that the updated home page looks like this:

This approach implements the forward-only migration principle explained in our "Infrastructure as code" article.
Initializing a new branch
Create a separate branch to make these changes:
git checkout -b blog-v1.2Migrating the content
The following migration script uses a function called deriveLinkedEntries to generate new categories from existing blog posts by using the original blog post category field:
module.exports = function (migration) {
  // New category content type.
  const category = migration.createContentType('category')
    .name('Category')
    .displayField('name');
  category.createField('name').type('Symbol').required(true).name('Name');
  category.createField('slug').type('Symbol').required(true).name('URL Slug').validations([{ "unique": true }]);
  category.createField('image').type('Link').linkType('Asset').name('Image');

  // Create a new category field in the blog post content type.
  const blogPost = migration.editContentType('blogPost')
  blogPost.createField('category_ref')  // Using a temporary id to be able to transform entries.
    .name('Category')
    .type('Link')
    .linkType('Entry')
    .validations([
      {
        "linkContentType": ['category']
      }
    ])

  // Derives categories based on the existing category Symbol, and links these back to blog post entries.
  migration.deriveLinkedEntries({
    // Start from blog post's category field
    contentType: 'blogPost',
    from: ['category'],
    // This is the field we created above, which will hold the link to the derived category entries.
    toReferenceField: 'category_ref',
    // The new entries to create are of type 'category'.
    derivedContentType: 'category',
    // We'll only create a category using a name and a slug for now.
    derivedFields: ['name', 'slug'],
    identityKey: async (from) => {
      // The category name will be used as an identity key.
      return from.category['en-US'].toLowerCase()
    },
    deriveEntryForLocale: async (from, locale) => {
      // The structure represents the resulting category entry with the 2 fields mentioned in the `derivedFields` property.
      return {
        name: from.category[locale],
        slug: from.category[locale].toLowerCase()
      }
    }
  })

  // Disable the old field for now so editors will not see it.
  blogPost.editField('category').disabled(true)
}
Name the script 03-category-link.js, save it in migrations and run it on your space:
contentful space migration migrations/03-category-link.js --yesUpdating the code
Download this patch and apply it to make all required changes on your code at once:
git apply migrations-1.1-1.2.patchTo see the changes, run the example app again:
npm run devThe new version changes look like this:

Commit the changes to Git:
git add .
git commit -m 'v2: Category to reference with dedicated page'
The change is now ready to be reviewed and deployed.
Next steps
- Check out the documentation in the GitHub repository
- Reference documentation of the migrations DSL for full details of its capabilities
- \"Infrastructure as code\" article on the forward-only migration principle
- Example video showing a hands-on content migration
- Read the Environments guide showing how to get started with Contentful and environments
- Learn more about managing content at scale in our Learning Center
Not what you’re looking for? Try our FAQ.


