
- Help center home
- Getting started
- Content model
- Managing content
- Working with entries
- Working with media
- Working with translations
- Managing users
- Roles
- Account settings
- Administration
- Experiences
- Content orchestration
- Compose
- Launch
- Workflows
- Guides
- Certification and training
- Contentful glossary
- Manage cookie consent
- Apps
- Usage Limit
- Marketplace
- How to get help and support
- Knowledge Base
Schedule an entry
On this page
As a content creator or editor, you may often have a need to release content at a specific date and time. This isn't always convenient if you aren't near a computer.
Scheduling an entry to be published or unpublished
In the Content tab, navigate to the desired entry or create a new entry.
Make any edits or changes you want to publish.
In the entry editor, click the drop-down arrow on the Publish button and select Set schedule.
The Set Schedule dialog appears. Here, you can choose whether to publish or unpublish the entry at your specified time and date (including your desired timezone).
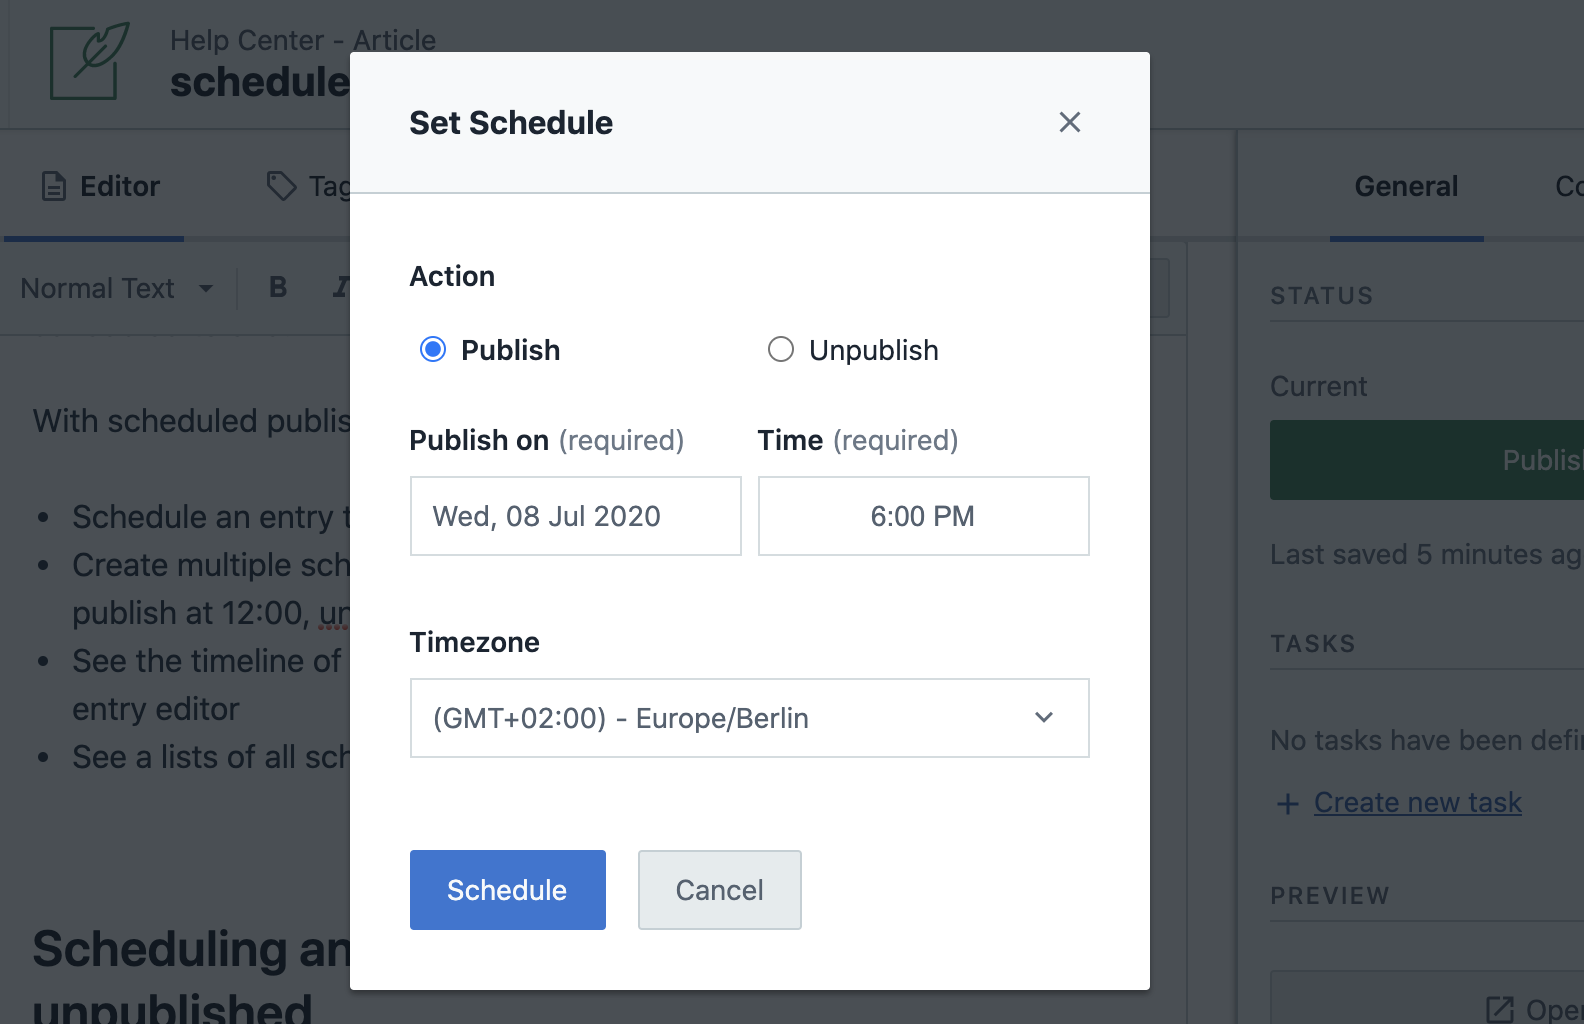
The Set Schedule dialog
The timezone defaults to the timezone of your computer. You can select another timezone to ensure that regional content is managed at the correct local time.
5. When satisfied, click Schedule to save your scheduled action.
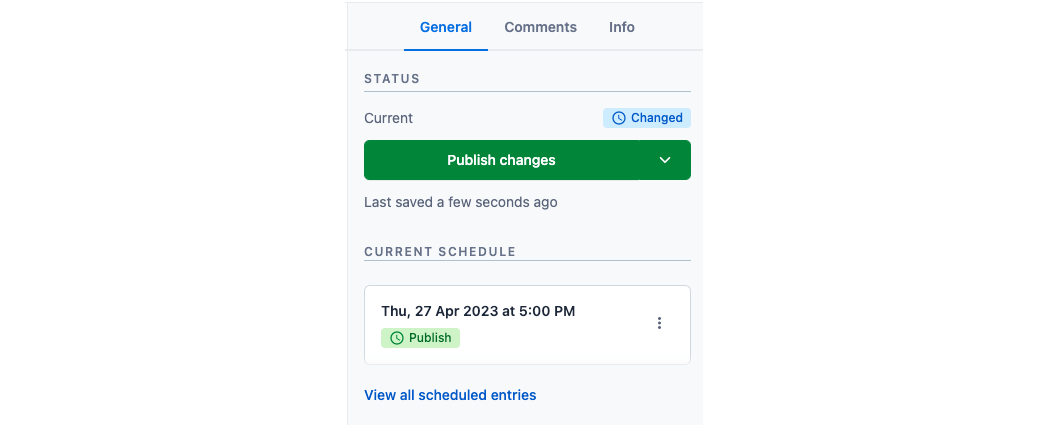
Your new scheduled action is now shown in the entry sidebar. You can repeat the scheduling process to add more scheduled publish and unpublish actions to suit your needs.
Edit or cancel a scheduled action
To change a scheduled action, you need to cancel the scheduled action and set a new schedule using the same steps as creating a scheduled action.
Canceling a scheduled action
Navigate to the entry in which you want to cancel an action.
Locate the action in the entry sidebar and click the ... action menu.
Select Cancel Schedule then click the Cancel the schedule button in the confirmation dialog.
The selected action will be canceled leaving any other scheduled actions in place.
Make sure if you cancel an action that the any other following actions still make sense. If you cancel a publish action, for example, ensure that the next scheduled action will not attempt to unpublish an already unpublished entry.